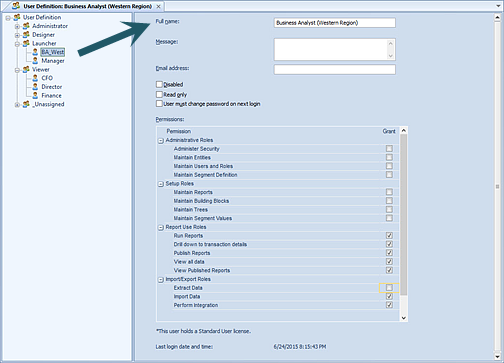
You can modify users’ information in Prospero at any time.
To modify a User:
1. Select the Security bar on the Prospero Navigation Pane.
2. Open the User Definition workspace using the User Definition icon
3. Select the user from the User Definition tree hierarchy.

4. Make your modifications (i.e. change the name of the role, manage login messages or flag the user as disabled or read-only).
5. Close the workspace by clicking on the X next the name on the tab.
6. When prompted, save your modifications.
In addition, user IDs can be renamed. To rename a User:
1. Select the Security bar on the Prospero Navigation Pane.
2. Open the User Definition workspace using the User Definition icon
3. Select the user from the User Definition tree hierarchy to open the workspace.
4. Click on the Rename option on the Security Tools Security context ribbon or right-click and select the Rename option from the pop-up menu.

5. In the Rename dialog, enter the new name.
6. Select the OK button to confirm the change.